4 Professional Methods to Curve Text in Google Slides
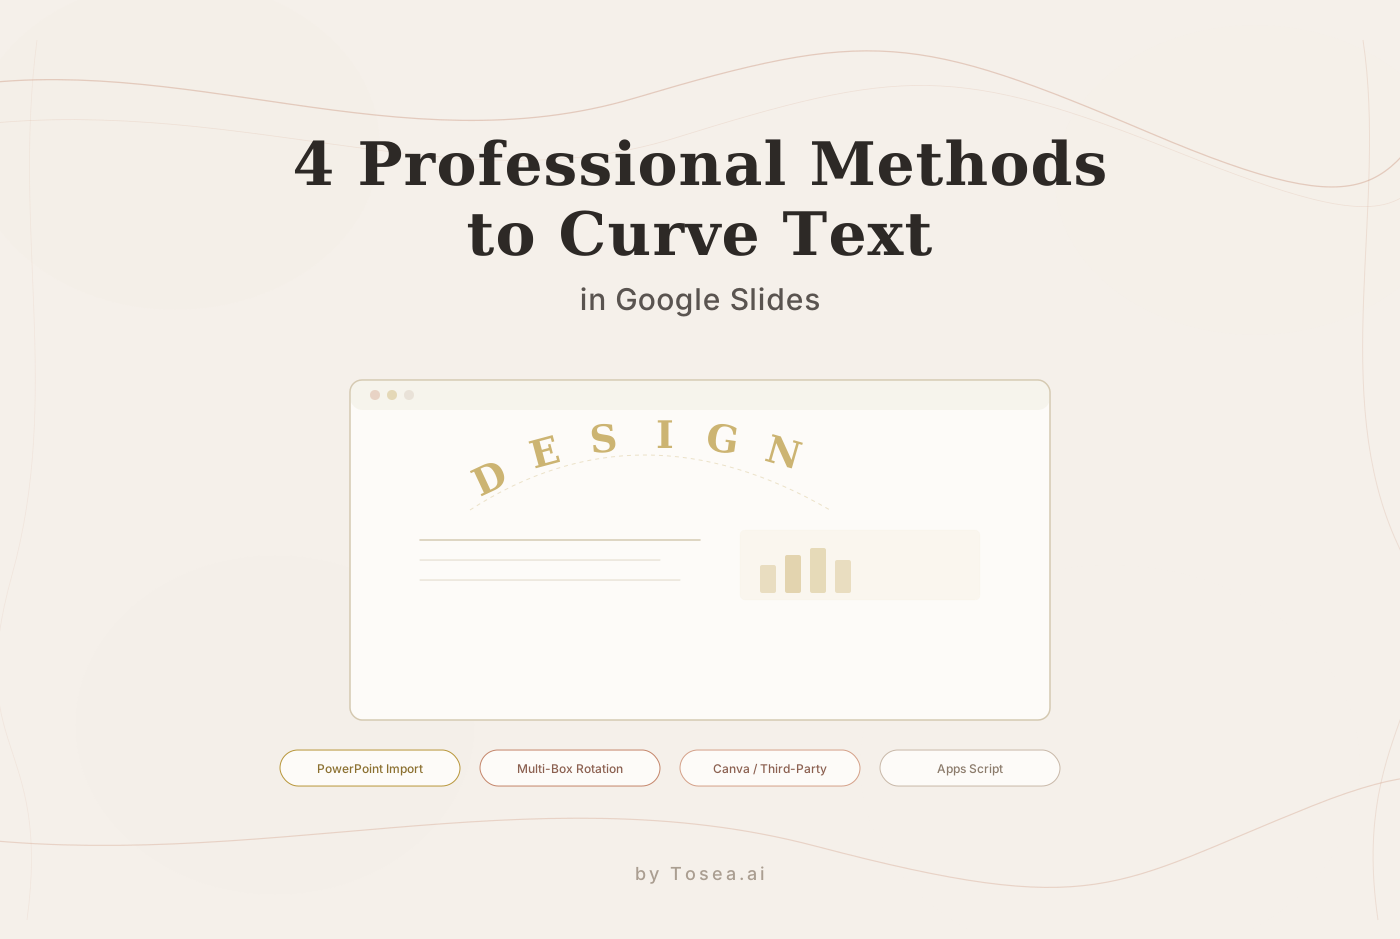
Learn four professional techniques to create curved text in Google Slides, from PowerPoint imports to Google Apps Script automation.
Why Curved Text Matters in Presentations
In presentation design, visual hierarchy plays a significant role in guiding audience attention. Curved text is a design element commonly used by consulting firms and creative agencies to anchor titles, create emblems, and draw the eye toward focal points. Breaking the monotony of horizontal text lines can give a slide the polish it needs to stand out during a pitch or report.
Google Slides, however, does not include a native curved text feature. The application prioritizes collaborative efficiency and a lightweight interface, which means advanced graphic manipulation is left to workarounds. If you have searched for a "curve text" button and come up empty, you are not alone.
The following four methods each address this gap in a different way. Depending on your priorities -- speed, precision, editability, or automation -- one will fit your workflow better than the others.
Method 1: PowerPoint Vector Integration
If geometric precision matters most -- for example, when creating a circular logo or a perfectly arched headline -- the PowerPoint import method is well-suited. This approach uses the WordArt Transform engine in desktop PowerPoint and brings the result into Google Slides.
Step-by-Step Workflow
-
Open PowerPoint and insert a Text Box. Type the phrase you want to curve. Choose your font, size, and color at this stage, since editing later will require returning to the source file.
-
Navigate to Shape Format > Text Effects > Transform. You will see a gallery of warp options: arcs, circles, waves, and custom paths. For a simple arch, select "Arch Up" or "Arch Down." For text that wraps around a full circle, choose one of the circular options.
-
Adjust the curve intensity. After applying a Transform, you will notice a pink diamond-shaped handle on the text box. Dragging this handle changes how tightly the text curves. Spend time here to get the arc radius right, since you cannot fine-tune it after pasting into Google Slides.
-
Match your Google Slides theme. Before copying, verify that the font family, font weight, color (use exact HEX codes), and size align with the rest of your presentation. Mismatched typography is one of the fastest ways to make a slide look inconsistent.
-
Copy and paste into Google Slides. Select the curved text object in PowerPoint, press CTRL+C (or CMD+C on Mac), switch to your Google Slides tab, and press CTRL+V. The object typically imports as a high-quality vector-like element or a crisp Enhanced Metafile.
-
Resize and position. Once pasted, use the corner handles to scale the object proportionally. Hold Shift while dragging to maintain the aspect ratio.
Trade-offs
The text becomes a static object inside Google Slides. You cannot click into it and edit individual characters. If you discover a typo or need to change wording, you must return to the PowerPoint file, make the edit, and re-paste. For title slides or branding elements that are unlikely to change, this extra step is manageable.
Method 2: Native Multi-Box Rotation
For those who want to stay entirely within the Google Slides ecosystem and keep text editable, the manual rotation method works well for short phrases and decorative elements.
Step-by-Step Workflow
-
Break the phrase into segments. Instead of placing the entire phrase in one text box, create separate text boxes for individual characters or small clusters of two to three characters. For example, "WELCOME" could become seven individual boxes.
-
Duplicate boxes efficiently. Select a text box and press CTRL+D (or CMD+D) to duplicate. Update the text in each duplicate.
-
Position along an imaginary arc. Start by placing the middle character at the top center of your intended curve. Then work outward, moving each subsequent character slightly down and to the side.
-
Rotate each box. Click on a text box to reveal the rotation handle -- the small circular dot above the selection box. Tilt each segment by roughly 5 to 15 degrees relative to its neighbor. Characters on the left side of the arc rotate counterclockwise, and characters on the right rotate clockwise.
-
Use alignment guides. Google Slides shows red snapping guides when objects align. Use these to maintain a consistent baseline across your arc. You can also enable View > Guides to place custom guide lines.
-
Group the boxes. Once satisfied with the arrangement, select all the text boxes (click and drag, or hold Shift while clicking each one), then right-click and choose "Group." This lets you move and resize the entire curved text as a single unit.
Trade-offs
This method keeps everything editable and native to Google Slides. You can change fonts, colors, and text content without leaving the browser. However, achieving a smooth curve requires patience, and the result may look slightly uneven compared to a mathematically generated arc. It works best for short words or phrases, not full sentences.
Method 3: Canva and Third-Party Design Tools
When speed matters more than native editability, design platforms such as Canva, Figma, or Adobe Express offer dedicated curved text features. These tools handle character spacing (kerning) automatically as text bends, producing smooth results quickly.
Step-by-Step Workflow
-
Open Canva and create a new project. Choose a custom size that matches your Google Slides dimensions (typically 25.4 cm x 14.29 cm, or 10 x 5.63 inches at 96 DPI).
-
Add a text element and type your phrase. Select the text, then open the Effects panel from the toolbar above the canvas.
-
Apply the Curve effect. Use the slider to control the degree of curvature. Sliding right creates an upward arc; sliding left creates a downward arc. A value near zero produces a gentle wave, while higher values create tighter curves.
-
Match your presentation theme. Set the font family, weight, and color to match your Google Slides deck. Use exact HEX codes -- you can find these in Google Slides by clicking on a colored element and checking the custom color picker.
-
Export as PNG with a transparent background. This is critical. If you export as JPG, the image will have a white rectangular background that looks out of place on your slide. In Canva, check the "Transparent background" option before downloading. If you are on the free tier and transparency is not available, use a background color that exactly matches your slide background.
-
Export at high resolution. Google Slides tends to compress uploaded images. Exporting at 2x or 3x resolution from Canva (or setting a higher DPI in Figma) ensures the text remains sharp after compression. A good rule of thumb: if the text looks crisp when you zoom in to 200% in Canva, it will look acceptable at normal zoom in Google Slides.
-
Insert the image into Google Slides. Go to Insert > Image > Upload from computer, select your PNG, and position it on the slide.
Trade-offs
The result is an image, not live text. Editing requires going back to the design tool, making the change, re-exporting, and re-uploading. On the positive side, the curves are smooth, kerning is handled automatically, and the process takes only a few minutes once you have a workflow established.
Method 4: Google Apps Script Automation
For power users or teams that need to generate curved text elements repeatedly across many presentations, Google Apps Script provides a programmatic approach. Instead of visually warping letters, the script calculates X and Y coordinates for each character along a mathematical arc.
Step-by-Step Workflow
-
Open the Script Editor. In your Google Slides presentation, go to Extensions > Apps Script. This opens a code editor in a new tab.
-
Write or paste the curve script. The core logic involves a loop that iterates over each character in a string, calculates its position on a circle using trigonometric functions (sine and cosine), and creates an individual text box at that position with the appropriate rotation angle.
-
Configure the parameters. Key variables to set include: the text string, the center X and Y coordinates of the arc, the radius (how wide the curve is), the starting angle, and the angular spread of the text.
-
Run the script. Click the Run button in the Apps Script editor. The first time, Google will ask for authorization to modify your presentation. After granting permission, the script generates the text boxes on the specified slide.
-
Fine-tune the output. You may need to adjust the radius or angle spread and re-run the script a few times to get the positioning right. Delete the previous attempt before running again to avoid overlapping text boxes.
-
Group the generated boxes. Once the curved text looks correct, select all the generated text boxes in Google Slides and group them.
Trade-offs
This is the only method that produces a technically "native" result -- each character is a real Google Slides text box. However, because each letter is a separate object, managing the slide afterward can become unwieldy. This method is best for templates or automated workflows where the curved text is generated once and left unchanged.
Method Comparison Table
| Criteria | PowerPoint Import | Multi-Box Rotation | Canva / Third-Party | Apps Script |
|---|---|---|---|---|
| Ease of use | Moderate -- requires PowerPoint | Low -- tedious for long text | High -- intuitive UI | Low -- requires coding |
| Curve quality | High -- smooth mathematical arc | Variable -- depends on manual skill | High -- automated kerning | High -- mathematically precise |
| Editability in Slides | None -- static object | Full -- native text boxes | None -- image file | Partial -- individual letter boxes |
| Time required | 5-10 minutes | 15-30 minutes | 3-7 minutes | 20-40 minutes (first time), fast after |
| Software needed | Microsoft PowerPoint | None (Google Slides only) | Canva, Figma, or similar | None (built-in Apps Script) |
| Best for | Title slides, logos | Short decorative phrases | Quick one-off designs | Repeatable templates |
| Collaboration impact | Low -- others see static image | Low -- grouped text boxes | Low -- others see image | Medium -- many small objects on slide |
When to Use Which Method
Choosing the right method depends on your specific situation. Here is a decision guide:
Use Method 1 (PowerPoint Import) when you already have PowerPoint installed, the text is finalized and unlikely to change, and you need a precise arc for a title slide or branding element.
Use Method 2 (Multi-Box Rotation) when you need to keep everything within Google Slides, the phrase is short (one to four words), and you may need to edit the text later without switching tools.
Use Method 3 (Canva / Third-Party) when speed is the priority, you are comfortable with a design tool, and the curved text is decorative rather than something that changes frequently. This is also the most accessible option for teams without PowerPoint licenses.
Use Method 4 (Apps Script) when you are building a template that many people will use, you need consistent curved text across dozens of presentations, or you enjoy a programmatic approach and want repeatable results without manual effort each time.
If none of these methods feel practical for your workflow, tools like Tosea.ai can handle advanced layout and typography as part of a broader document-to-presentation conversion pipeline, reducing the need for manual design work.
Troubleshooting Common Issues
Blurry Text After Import
If imported curved text (from Methods 1 or 3) appears blurry, the root cause is almost always resolution. Try these fixes in order:
- Export at 2x or 3x the intended display size, then scale down inside Google Slides.
- Use PNG format rather than JPG. PNG preserves sharp edges on text, while JPG compression introduces artifacts around letterforms.
- In PowerPoint (Method 1), try pasting as "Enhanced Metafile" if regular paste produces a rasterized image. Right-click in Google Slides and check paste options.
Uneven Spacing in Manual Curves
When using Method 2, uneven letter spacing is the most common complaint. A few techniques help:
- Use a monospaced font (such as Courier New or Roboto Mono) for your first attempt, since all characters occupy the same width. Switch to a proportional font only after the arc shape looks correct.
- Place a circle shape on the slide as a visual guide. Arrange each text box so its baseline sits on the circle edge, then delete the guide circle when finished.
- Zoom in to 200% or higher while arranging. Spacing issues that are invisible at normal zoom become obvious at higher magnification.
White Background on Transparent PNGs
If your exported PNG still shows a white box in Google Slides, double-check these settings:
- In Canva, the transparent background option is only available on paid plans. If you are on the free tier, set the background to the exact color of your slide.
- Some browsers cache older versions of uploaded images. Try clearing the image and re-inserting it.
- Verify the file is actually a PNG and not a JPG renamed with a .png extension.
Apps Script Authorization Errors
Google Apps Script requires explicit authorization the first time it runs. If you see a "This app isn't verified" warning, click "Advanced" and then "Go to [project name] (unsafe)" to proceed. This is standard for personal scripts that have not been published to the Google Workspace Marketplace.
Curved Text Looks Distorted When Printed
On-screen curves may not translate well to print or PDF export. If you plan to print handouts or export to PDF, test the export early in the process. Vector-based methods (Method 1) generally hold up better in print than raster images (Method 3).
FAQ
Q: Will curved text affect the accessibility of my presentation?
A: It can. Screen readers cannot interpret text that is split across individual boxes (Method 2) or embedded in images (Methods 1 and 3). To maintain accessibility, include the curved text content in the Alt Text description of the grouped object or image. You can also add the text to Speaker Notes so that anyone reviewing the notes version of the deck gets the full content.
Q: Can I curve text on the Google Slides mobile app?
A: No. The mobile app does not support the level of object manipulation required for any of these methods. You need a desktop browser to implement these techniques. If you frequently work from mobile devices, preparing curved text elements in advance on desktop and saving them in a template slide is a practical workaround.
Q: What is the best font for curved text?
A: Sans-serif fonts such as Inter, Montserrat, Roboto, and Open Sans tend to handle curving better than serif fonts. Their uniform stroke widths maintain legibility when characters are tilted or compressed along an arc. Avoid decorative or script fonts for curved text, since their complex letterforms can become unreadable at even moderate curve intensities.
Q: How many words should I curve at once?
A: Keep curved text short -- ideally one to five words. Long sentences along an arc become difficult to read and lose their visual impact. If you need to curve a longer phrase, consider splitting it across two arcs (one above and one below a central element) rather than forcing everything onto a single curve.
Q: Can I animate curved text in Google Slides?
A: For Methods 1 and 3 (imported as images), you can apply standard Google Slides animations such as Fade In or Fly In to the image object. For Method 2 (grouped text boxes), you can animate the group as a whole, but animating individual letters within the group requires ungrouping and applying separate animations to each box. Method 4 (Apps Script) does not support adding animations programmatically -- you would need to add those manually after the script runs.
Q: Does curved text increase the file size of my presentation?
A: Methods 1 and 3 add image data to the file, which increases size modestly. A single high-resolution PNG of curved text typically adds 50-200 KB. Methods 2 and 4 add multiple text box objects, which have minimal impact on file size but can slow down rendering if you have many curved elements on a single slide.
Q: Are there Google Slides add-ons that curve text directly?
A: A few third-party add-ons in the Google Workspace Marketplace claim to offer text curving. However, most of these work by generating images externally and inserting them, which is functionally similar to Method 3. Read reviews and test with a non-critical presentation before relying on an add-on for important work.
Wrapping Up
Curving text in Google Slides requires a workaround regardless of which method you choose, but each approach has clear strengths for different situations. The PowerPoint import method delivers precision, manual rotation preserves editability, third-party tools offer speed, and Apps Script enables automation.
The key consideration is not just how the curved text looks, but how it fits into your overall slide design. Curved text works as a focal-point element -- a title, a logo accent, or a callout -- rather than body copy. Pair it with clean layouts and sufficient white space to let it do its job without competing for attention.
For teams that regularly produce presentations and want to skip manual design workarounds altogether, Tosea.ai offers an automated approach to slide creation that handles typography and layout as part of the conversion process from documents to finished decks.